Navigation mesh pathfinding
The navmesh pathfinding behaviors move objects to a destination by following walkable floors and going around obstacles. They work in 2D and in 3D, and a whole crowd of characters can move at the same time while avoiding each other.
Choose the floors and the obstacles
By using the Floor/obstacle for pathfinding (navmesh based) behavior, you can flag any object as a walkable floor, as an obstacle, or as both.
In 3D, characters walk on the flat surfaces of these objects and go around the steep ones. Add the behavior to the floors and platforms where characters must walk, and to the walls and props they must avoid.
In 2D, objects with this behavior are always obstacles. Characters can only move inside the rectangle that contains all of them, so put obstacles around the area where characters can go.
When the behavior is added to an object, some properties can be modified:
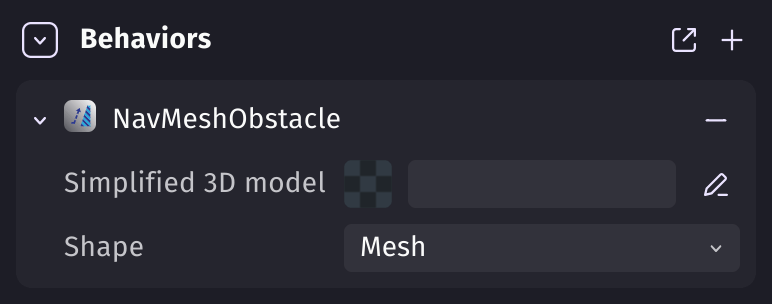
These properties are only relevant for 3D model objects. The 2D collision mask is always used for 2D objects.
- Shape – You can choose between using the model shape (Mesh) or a bounding box (Box).
- Simplified 3D model – Models with a lot of polygons can require heavy computations. You can make a simplified version of your model with an external tool and set it in this property to make the obstacle faster to compute.
Tip
If you need objects to move in only 4 or 8 directions, you can use the grid-based pathfinding instead.
Note
Tile maps can also be used as obstacles: add the Floor/obstacle for pathfinding (navmesh based) behavior to a tile map that has collisions, and the moving objects will avoid its tiles.
Move objects while avoiding obstacles
The Pathfinding character (navmesh based) behavior computes the shortest path from the object to a destination and, optionally, moves the object along this path, while avoiding all the objects that have the Floor/obstacle for pathfinding (navmesh based) behavior.
After adding the behavior to the object, you can customize some properties:
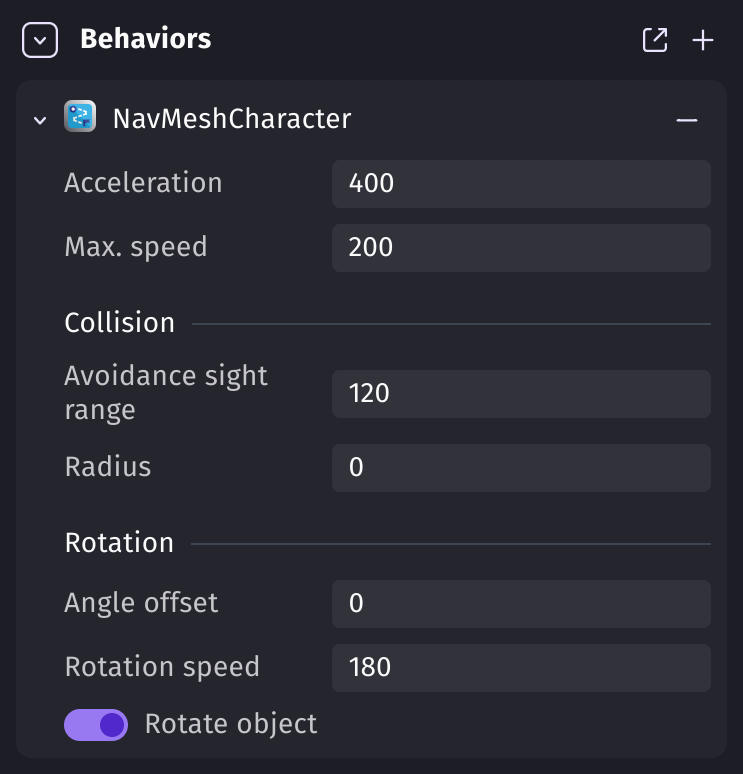
- Acceleration – How fast the object accelerates while moving on a path.
- Max. speed – The maximum speed the object can reach on the path.
- Avoidance sight range – How far ahead the character looks to avoid other characters.
- Radius – The radius of the character. This setting determines how close the object can move to obstacles.
- Angle offset – In case the sprite is facing the wrong direction, you can fix it with the angle offset.
- Rotation speed – The speed of the object's rotation.
- Rotate object – Disable it if you don't want the object to rotate while moving on the path.
Note
If you want to change how the object moves during the game, these properties can be changed using actions.
To make the character move, you need to add the Move to a position action and specify the destination.
For instance, to move a character to the cursor, you can do the following in 2D:

or in 3D (using the 3d raycast extension):

Warning
The Move to a position action only needs to be run once. If you run this action without any condition, it will compute the path at every frame, which is very demanding for the device. You can add the Destination reached condition or use a timer to solve this.
Tip
In an isometric 2D game, set the Y speed scale scene property to 0.5 so that characters move slower vertically than horizontally.
Avoid frame skipping when obstacles change
When obstacles are moved, created or deleted, or when their behavior is deactivated or activated again, the navigation mesh is rebuilt on the next frame. This can take more than 1/60 of a second, which leads to frame skipping.
You can reduce this side effect by:
- Making Cell size and Cell depth bigger in the scene properties.
- Setting a Simplified 3D model for obstacles that use a Mesh shape. The simplified model should have as few polygons as possible. For instance, a ramp often only needs 5 faces.
- Making a chunk system that destroys far away obstacles in batches.
Troubleshoot navigation mesh generation
You can display the generated navigation mesh with the Draw pathfinding walkable area action. The walkable area is drawn in blue.
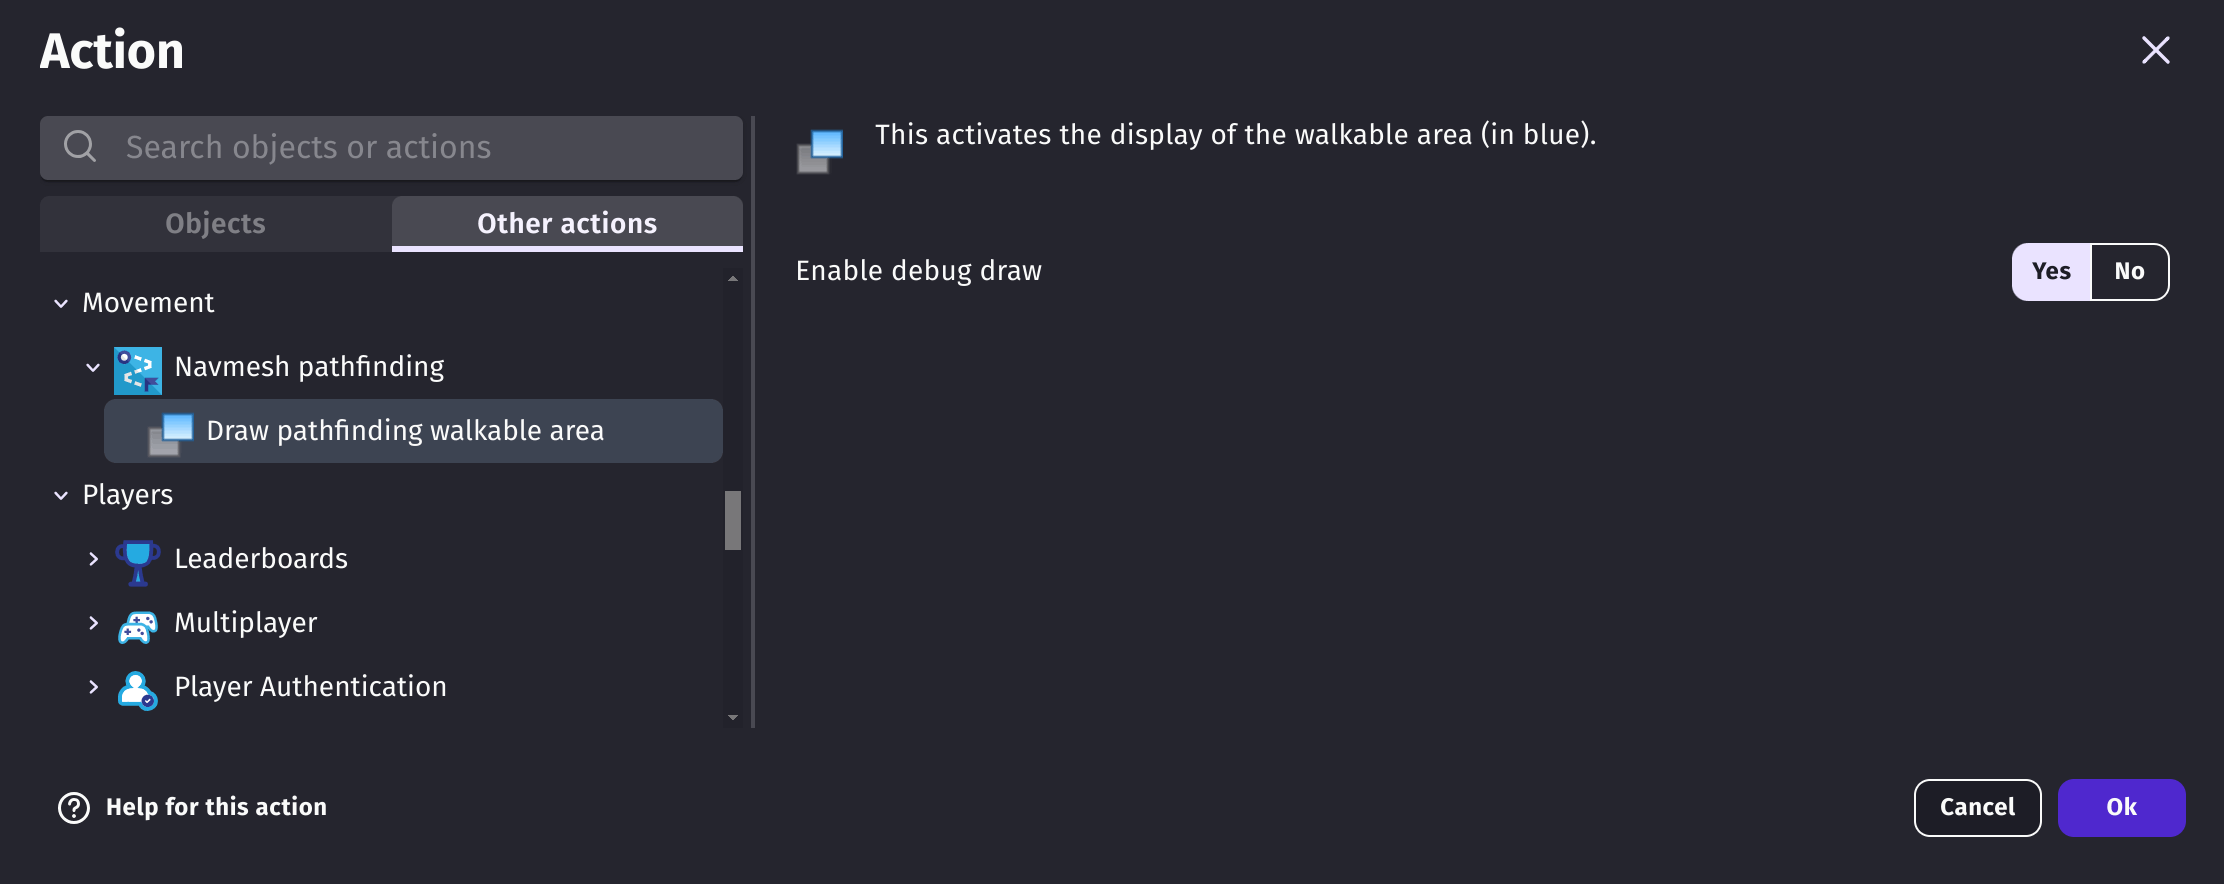
Try to modify the following scene properties and check the effects on the navigation mesh by running a preview:
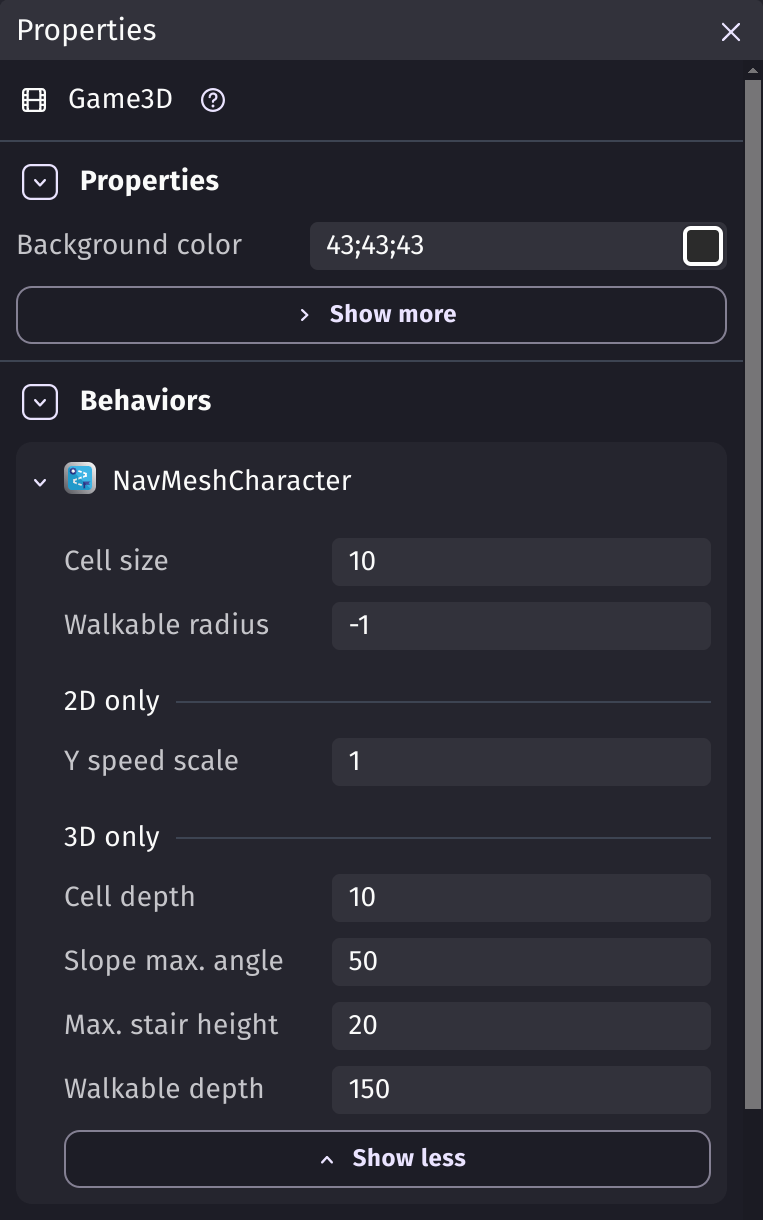
- Max. stair height – If characters won't climb stairs, try a greater value.
- Slope max. angle – If characters won't walk on steep slopes, try a greater value.
- Walkable depth – If characters won't go under a roof, try a smaller value.
- Walkable radius – If characters won't go through a narrow passage, try a smaller value. It's usually better to keep it automatic (
-1) and change the Radius on characters.
Examples
Tip
See it in action! 🎮
Open these examples online.
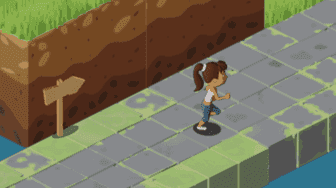
Isometric example
Reference
All actions, conditions and expressions are listed in the navmesh pathfinding reference page.